


Home security cameras are an essential tool for protecting your property and ensuring the safety of your loved ones. However, one challenge many homeowners face is how to properly run the necessary wires for their cameras. Running wires for security cameras can be a daunting task, especially if you’re not familiar with electrical work or home improvement projects. But fear not, with a little planning and some basic tools, you can easily run the wires for your home security cameras like a pro.
Before you start running the wires, it’s important to have a clear plan in mind. Consider the layout of your home and where you want to install the cameras. Take note of potential obstacles such as walls, ceilings, and furniture that may interfere with the wiring process. It’s also important to determine the best route for the wires, keeping in mind potential hazards such as electrical outlets, plumbing lines, and insulation.

Once you have a plan in place, gather the necessary tools and materials. You’ll need a power drill, screws, screwdrivers, wire cutters, and electrical tape. Additionally, consider investing in wire concealment solutions such as conduit or cable raceways to ensure a clean and professional-looking installation. These accessories can help protect the wires from damage and provide a finished appearance.
Choosing the Right Location
When setting up your home security camera system, choosing the right location for your cameras is essential. Here are some factors to consider:
1. Coverage
First and foremost, you need to determine the areas of your home or property that you want to monitor. This could include entry points, driveways, backyard, or any other areas that are vulnerable to break-ins or suspicious activities. Make sure to choose camera locations that provide adequate coverage of these areas.
2. Accessibility
Ensure that the chosen locations are easily accessible for installation and maintenance. Avoid installing cameras in hard-to-reach areas that might make it difficult to adjust or repair them when necessary.
3. Visibility
Visible cameras can act as a deterrent to intruders. Place your cameras in prominent locations, where they can be seen by anyone approaching your property. Additionally, make sure to position the cameras at the right angle to capture clear images or footage of any potential threats.
4. Protection
Consider the camera’s protection against weather conditions, vandalism, or tampering. If the cameras will be placed outdoors, make sure they are rated for outdoor use and are securely mounted to prevent any damage.
5. Privacy
Respect the privacy of your family members, neighbors, and others. Avoid pointing the cameras towards areas where people would expect privacy, such as bedrooms, bathrooms, or other sensitive areas.
By taking these factors into account, you can ensure that your home security cameras are installed in the right locations to maximize their effectiveness and provide you with the necessary peace of mind.
Considerations for Placement
When it comes to placing home security camera wires, there are several important considerations to keep in mind. These include:
- Visibility: Ensure that your security cameras have a clear line of sight to the areas you want to monitor. Avoid placing them behind obstacles or in areas with excessive glare or reflections.
- Height: Mount your cameras at an optimal height to capture the desired field of view. Higher mounting locations can offer a broader perspective, while lower positions can provide more detailed views of specific areas.
- Weatherproofing: If you plan to install your security cameras outdoors, make sure they are weatherproof and can withstand the elements. Look for cameras with an IP rating that indicates their resistance to dust and water.
- Power source: Consider the proximity of power sources when deciding where to run your camera wires. It is important to choose a location that allows for a convenient and safe connection to a power outlet.
- Wire concealment: Concealing camera wires can help improve the aesthetics of your home and prevent them from being tampered with. Look for options such as running wires through walls, ceilings, or using conduit or cable covers.
- Network connectivity: If your security cameras require network connectivity for remote monitoring, ensure that they are placed within range of your Wi-Fi router or have a wired connection available.
- Backups and storage: Consider the location of your recording device or storage system. It should be in a secure location and have sufficient capacity to store the footage captured by your security cameras.
By carefully considering these placement factors, you can maximize the effectiveness of your home security camera system and ensure that it meets your specific surveillance needs.
Indoor vs Outdoor Cameras
When it comes to choosing security cameras for your home, one of the decisions you’ll have to make is whether to go with indoor cameras or outdoor cameras. Each type has its own advantages and considerations to keep in mind.
Indoor Cameras
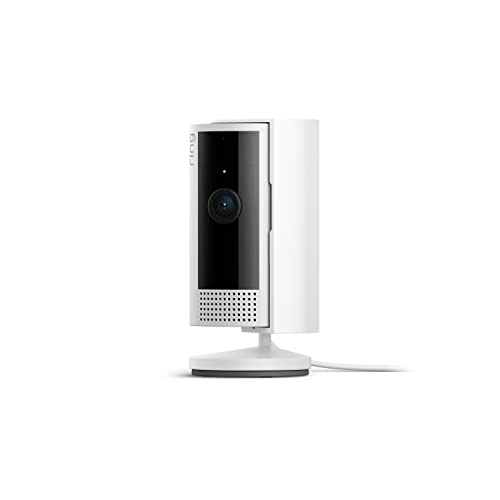
Indoor cameras are designed specifically for use inside your home. They are typically smaller in size and more discreet, making them ideal for placement in living rooms, bedrooms, or other areas where you want to monitor activities without drawing attention to the camera. These cameras are not weatherproof and cannot withstand exposure to the elements, so they should always be used indoors.
Some key advantages of indoor cameras include:
- Discreet design
- Higher video quality due to controlled lighting conditions
- Ability to capture close-up details
- Easier installation and wiring
Outdoor Cameras
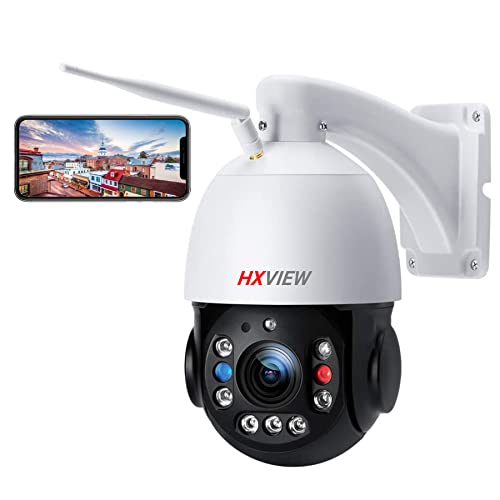
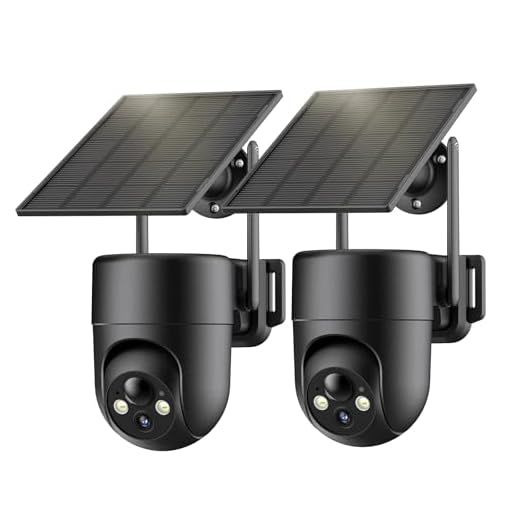
Outdoor cameras are specifically designed to withstand harsh weather conditions and provide surveillance for the exterior of your home. They are built with sturdy materials and are usually more visible compared to indoor cameras, serving as a deterrent to potential intruders. These cameras are weatherproof and can endure rain, snow, and other outdoor elements.
Here are some advantages of outdoor cameras:
- Ability to cover a larger area
- Visible presence can deter potential intruders
- Higher durability and resistance to vandalism
- Night vision capabilities for 24/7 monitoring
| Indoor Cameras | Outdoor Cameras |
|---|---|
| Designed for indoor use | Designed for outdoor use |
| Discreet and smaller in size | More visible and larger in size |
| Not weatherproof | Weatherproof and sturdy |
| Higher video quality | Equipped with night vision |
Ultimately, the choice between indoor and outdoor cameras depends on your specific security needs. If you want to monitor activities inside your home without being obtrusive, indoor cameras are the way to go. On the other hand, if you want to protect the exterior of your home and deter potential intruders, outdoor cameras are the better option. Consider your surveillance goals, the areas you want to cover, and the weather conditions in your area when making your decision.
Gathering the Necessary Tools
Before starting the process of running home security camera wires, it is important to gather all the necessary tools to ensure a successful installation. Here is a list of tools you will need:
1. Measuring Tape
A measuring tape will be essential for accurately measuring the distances between the security camera locations and the DVR or NVR.
2. Wire Strippers
Wire strippers are necessary to remove the protective insulation from the camera wires and ensure proper connectivity.
3. Phillips Screwdriver
A Phillips screwdriver will be needed to securely attach the camera mounts and any other hardware during the installation.
4. Drill and Drill Bits
Depending on the mounting options for your cameras, a drill and drill bits may be necessary to create holes for the camera mounts.
5. Fish Tape or Wire Pulling Tools
If you need to run the wires through walls or ceilings, a fish tape or wire pulling tools will be useful for threading the wires through tight spaces.
6. Cable Clips or Wire Stapler
To keep the wires organized and secure, you may need cable clips or a wire stapler to fasten the wires to walls or other surfaces.
7. Ethernet Crimping Tool (if using Ethernet cables)
If you are using Ethernet cables for your security camera system, an Ethernet crimping tool will be necessary to properly terminate the cables.
8. Power Drill (if necessary)
If you need to create holes for power outlets near your cameras, a power drill may be required.
By gathering these essential tools beforehand, you can ensure a smooth and efficient installation process for your home security camera system.
Essential Tools
When it comes to running home security camera wires, having the right tools can make the installation process much easier and more efficient. Here are some essential tools you will need:
1. Wire Strippers
Wire strippers are essential for removing the insulation from the wires. They have sharp cutting edges that allow you to strip the wires without damaging them. Make sure to use wire strippers that are designed for the gauge of wire you are working with.
2. Fish Tape
Fish tape is a flexible and slender tool that is used to run wires through walls, underneath carpets, or inside conduits. It is made of steel or fiberglass and has a hook or eyelet at one end to attach the wires. Fish tape is particularly handy when you need to extend the wires over long distances.
3. Drill with Bits
A good quality drill is essential for drilling holes in walls, ceilings, or floors to run the wires. Make sure to have a variety of drill bits of different sizes to accommodate the wires and any other attachments you may need.
4. Cable Ties
Cable ties, also known as zip ties, are used to bundle and secure the wires together. They come in various sizes and are made of nylon. Cable ties make it easier to organize and manage the wires, preventing them from becoming tangled or loose.
5. Voltage Tester
A voltage tester is a handheld device used to check if there is an electrical current present in a wire or outlet. This tool is crucial for ensuring safety and preventing electric shocks while working with the wires. Always test the wires before making any connections.
Having these essential tools will ensure that your home security camera wire installation goes smoothly. Remember to always follow safety guidelines and consult a professional if you are unsure about any aspect of the installation process.
Optional Tools for Advanced Installation
While running home security camera wires can often be accomplished with basic tools, there are some optional tools that can make the installation process even easier and more efficient:

- Wireless Signal Tester: This tool can help you identify areas where the wireless signal strength may be weak, allowing you to optimize camera placement for better coverage.
- Fish Tape: A fish tape is a flexible tool that can help you navigate through walls and ceilings when running wires. It can make the process smoother and minimize the risk of damaging other components.
- Hole Saw: If you need to drill larger holes for camera mounts or wire routing, a hole saw can make the job easier and more precise.
- Cable Pulling Lubricant: Lubricant can help reduce friction and make it easier to pull wires through conduits or tight spaces.
- Tone Generator: If you are working with an existing wiring system, a tone generator can be used to identify and trace specific wires, ensuring you connect everything correctly.
These optional tools can be valuable additions to your home security camera installation toolkit, helping you achieve a more professional and efficient installation.
Measuring and Cutting the Wires
Before you start running the wires for your home security cameras, it’s important to measure and cut the wires to the appropriate lengths. This will ensure that you have enough wire to connect your cameras to your recording device or monitor, while also minimizing any excess cable that may lead to tangled or messy installations.

Here are some steps to follow when measuring and cutting the wires:
- Plan your camera placement: Determine the optimal locations to install your security cameras. Consider the distance between each camera and your recording device or monitor.
- Measure the distance: Use a measuring tape or ruler to measure the distance between a camera and your recording device or monitor. Add some extra length to account for any corners or obstacles the wire needs to navigate around.
- Cut the wire: Using wire cutters or a similar tool, cut the wire to the measured length. Ensure that the cut is clean and straight.
- Repeat for each camera: Repeat steps 2 and 3 for each camera installation.
- Label the wires: To keep track of which wire corresponds to each camera, use labels or markers to mark the ends of the wires with numbers or camera names.
By carefully measuring and cutting the wires, you can streamline your home security camera installation process and achieve a clean and professional-looking result.
Measuring Distance
Before running your home security camera wires, it’s important to measure the distance between your cameras and the recording device or power source. This will help you determine the length of wire needed for each camera.
To measure the distance, you can use a measuring tape or a measuring wheel. Start by identifying the locations where you plan to install your cameras. Measure the distance from each camera to the recording device or power source, taking into account any obstacles or walls that may be in the way.
Once you have measured the distances, it’s a good idea to add a few feet of extra wire to each camera’s length. This will give you some flexibility and allow for any unforeseen obstacles or changes in camera placement.
Using a Measuring Tape
If you are using a measuring tape, simply extend it to the desired length and make a note of the measurement. Repeat this process for each camera’s location.

Tip: It’s helpful to have a second person assist you with holding the measuring tape in place for accurate measurements.
Using a Measuring Wheel
If you are using a measuring wheel, place the wheel at the starting point and roll it along the path to the camera’s location. The wheel will measure the distance automatically, and you can record the measurement from the display.
Tip: Make sure to account for any inclines or steps in your path when using a measuring wheel.
By accurately measuring the distance between your cameras and the recording device or power source, you can ensure that you have the correct length of wire for your home security camera installation. This will help you avoid any unnecessary wire extensions or limitations in camera placement.
Cutting the Wires to Size
Before running the home security camera wires, you will need to cut them to the appropriate length. This ensures a neat and organized installation. Follow these steps to cut the wires to size:
- Measure the distance: Begin by measuring the distance from the camera to the recorder. Make sure to account for any corners or obstacles that the wire needs to go around.
- Add extra length: Once you have the measurement, add a few extra feet to allow for any unforeseen circumstances or adjustments during the installation process.
- Mark the wire: Use a permanent marker to mark the spot where you will cut the wire.
- Use wire cutters: Using wire cutters, carefully cut the wire at the marked spot. Make sure to make a clean cut without damaging the wire or any of the internal conductors.
- Remove the insulation: After cutting the wire, gently remove the outer insulation to expose the individual wires inside. Be careful not to nick or cut any of the internal wires.
- Strip the ends: Using wire strippers, strip the ends of the individual wires to expose a small section of copper conductors. This will allow for easy connection to the camera and recorder.
- Tidy up: Once the wires are cut to size and stripped, use cable ties or wire clips to keep them organized and secure. This will prevent any loose or hanging wires that could potentially pose a safety hazard or interfere with the camera’s performance.
Following these steps will ensure that your home security camera wires are cut to the appropriate length and properly prepared for installation.
Routing the Wires
When it comes to running home security camera wires, proper routing is crucial for an efficient and neat installation. Follow these steps to ensure that your wires are concealed and organized:
1. Plan the route: Before you begin routing the wires, carefully plan the path that the wires will take from the camera to the recording device. Consider any obstacles or obstructions that may be in the way, such as walls or furniture.
2. Use conduits or raceways: To protect and hide the wires, it is recommended to use conduits or raceways. These are plastic tubes or channels that can be easily mounted on walls or ceilings. Make sure to choose the right size for your wires.
3. Conceal the wires behind walls: If possible, run the wires behind walls or ceilings to keep them out of sight. This may require drilling holes and using fish tapes or rods to guide the wires through the cavities. Be careful not to damage any existing electrical wiring or plumbing.
4. Use wire clips or staples: For routing the wires along baseboards or walls, use wire clips or staples to secure them in place. This will prevent the wires from hanging and getting tangled, while also maintaining a clean appearance.
5. Label the wires: To avoid confusion during installation and future maintenance, label each wire with its corresponding camera or device. Use adhesive labels or color-coded tags to identify which wire belongs to which camera or component.
| 6. Avoid high voltage lines: When routing your camera wires, ensure that they are kept separate from any high voltage electrical lines. This will prevent any interference or signal degradation that may occur. |
| 7. Test the connections: After routing the wires, make sure to test the connections to ensure that the cameras are working properly. Check the video feed, audio, and any other features that your security system may have. |
By following these steps, you can effectively route your home security camera wires and ensure a tidy and professional installation. Remember to always prioritize safety and consult a professional if you are unsure about any aspect of the installation process.
FAQ,
What are the different types of security camera wires?
There are mainly two types of security camera wires: coaxial and Ethernet. Coaxial wires are commonly used for analog CCTV cameras, while Ethernet cables, such as CAT5e or CAT6, are used for IP cameras.
How do I hide the security camera wires?
There are several ways to hide security camera wires. You can run the wires through the attic, crawl space, or wall cavities. Another option is to use wire concealment solutions, such as conduit or cord covers, to hide the wires along the walls or baseboards.
Can I run security camera wires through the exterior walls?
It is not recommended to run security camera wires through exterior walls. Exterior walls often have insulation, pipes, or electrical wiring, which can make it difficult and potentially risky to run the wires. It is best to find alternative routes, such as running the wires through the attic or using exterior conduit.