
As a photography enthusiast, I understand the importance of capturing high-quality images with my digital camera. One key factor that often gets overlooked is the image size settings on the camera. Choosing the right image size can significantly impact the final outcome of your photos.
When it comes to digital cameras, there are typically three main image size settings: small, medium, and large. Each setting affects the resolution and file size of the image. Selecting the appropriate image size setting is crucial for achieving sharp, detailed photos while also managing storage space efficiently.
By understanding the benefits and limitations of each image size setting, you can make informed decisions on how to optimize your camera settings for different shooting scenarios. Let’s delve deeper into the significance of image size settings and how you can leverage them to enhance your photography experience.
Choosing the Ideal Image Size Setting for Your Digital Camera
When it comes to selecting the optimal image size setting for your digital camera, it’s essential to consider the intended use of the photos. For everyday snapshots or social media sharing, a lower resolution setting may suffice, helping conserve storage space on your memory card.
However, if you plan to print your photos or require high-quality images for professional purposes, opting for a higher resolution setting is recommended. This ensures that your photos retain their sharpness and detail when enlarged or printed.
- Everyday Use: For casual photography and online sharing, a medium resolution setting such as 8-12 megapixels is suitable.
- Professional Quality: If you need top-notch image quality, consider using the highest resolution setting available on your camera, typically around 20-24 megapixels.
Understanding Image Size
When it comes to digital photography, understanding the concept of image size is crucial. The image size setting on your camera determines the resolution and quality of the photos you capture. It’s important to choose the right image size based on your intended use of the photos.
Image size is measured in pixels, with more pixels equating to a higher resolution and better image quality. When setting the image size on your camera, consider factors like file size, storage capacity, and printing requirements. Higher image sizes are ideal for printing large, high-quality photos, while lower image sizes are sufficient for online sharing and social media.
- Choose a higher image size setting for professional photography or printing purposes.
- Opt for a lower image size setting for casual snapshots or online sharing.
- Experiment with different image sizes to find the right balance between quality and file size.
Importance of Selecting the Correct Image Size
When it comes to capturing images with a digital camera, choosing the appropriate image size setting is crucial. Opting for the right image size can significantly impact the quality and usability of your photos. It’s essential to consider factors such as resolution, file size, and intended use when selecting the image size on your camera.
By selecting the optimal image size setting, you can ensure that your photos are clear, detailed, and suitable for various purposes, whether it’s printing, sharing on social media, or displaying on a website. The right image size can also help you save storage space on your camera and computer, as larger image sizes result in bigger file sizes.
- Choose the image size wisely to maintain image quality.
- Consider the intended use of the photos when selecting the size.
- Opt for a balance between resolution and file size for efficient storage.
Factors to Consider When Selecting Image Size
When choosing the image size setting on your digital camera, there are several important factors to consider that can impact the quality and usability of your photos.
One key factor to keep in mind is the intended use of the photos. If you plan to print your images at a large size or display them on a high-resolution screen, you will want to select a higher image size setting to ensure sharpness and detail. On the other hand, if you are only sharing photos online or viewing them on a small device, a lower image size setting may be sufficient and can help save storage space.
- Resolution: Higher resolution images provide more detail and can be enlarged without losing quality. Consider the resolution needed for your specific use case.
- File size: Larger image sizes result in bigger file sizes, which can impact storage space and transfer speeds. Balance image quality with file size to find the right setting for your needs.
- Printing: If you plan to print your photos, higher resolution images are recommended to ensure sharp prints with good detail.
Recommended Image Size Settings for Different Scenarios
When capturing landscapes or cityscapes with your digital camera, it’s advisable to set the image size to the highest resolution available. This will allow you to capture all the intricate details and textures in the scene, ensuring crisp and clear images. You can always resize the image later if needed, but starting with a high-resolution image gives you more flexibility in editing and printing.
For portrait photography, setting the image size to a medium resolution is often sufficient. This allows you to capture the subject with good clarity while keeping the file size manageable. Medium resolution images are easier to share online and require less storage space, making them ideal for portraits that will primarily be viewed on screens rather than printed at large sizes.
Recommended Image Size Settings:
- Landscape/Cityscape: Highest Resolution
- Portrait: Medium Resolution
Tips for Adjusting Image Size on Your Digital Camera
When using a digital camera, adjusting the image size settings can greatly impact the quality and storage space of your photos. Here are some tips on how to optimize your image size settings for different scenarios:
- High Resolution for Printing: If you plan to print your photos, set your camera to a high resolution to ensure sharp and detailed prints. This will result in larger file sizes, but the quality will be worth it.
- Medium Resolution for Social Media: For sharing photos on social media platforms, you can use a medium resolution setting. This will reduce file sizes while still maintaining good quality for online viewing.
- Low Resolution for Web: When uploading photos to websites or blogs, you can use a low resolution setting to minimize file sizes and ensure faster loading times. This is ideal for web use where high resolution is not necessary.
Common Mistakes to Avoid When Setting Image Size
When setting the image size on your digital camera, there are some common mistakes that photographers often make. By avoiding these mistakes, you can ensure that your images are captured at the best quality possible.
- Using the wrong resolution: One of the most common mistakes is using a low resolution setting that results in pixelated or blurry images. Make sure to select the appropriate resolution for the type of images you are capturing.
- Not adjusting for print size: If you plan to print your images, be mindful of the print size when setting the image size on your camera. Choosing a resolution that is too low can result in poor quality prints.
- Overlooking aspect ratio: Some cameras allow you to adjust the aspect ratio of your images. Forgetting to set the correct aspect ratio can lead to images that are distorted or cropped in unexpected ways.
- Ignoring compression settings: Compression settings can impact the quality of your images. Be sure to choose the appropriate level of compression to balance file size and image quality.
By being mindful of these common mistakes and taking the time to properly set the image size on your digital camera, you can ensure that your photos turn out sharp, clear, and ready for printing or sharing online.
Best image size setting digital camera
Features
| Part Number | 4K Digital Camera |
| Model | 4K Digital Camera |
| Warranty | 1 Year Warranty |
| Color | Black |
| Is Adult Product | |
| Size | Compact |
Features
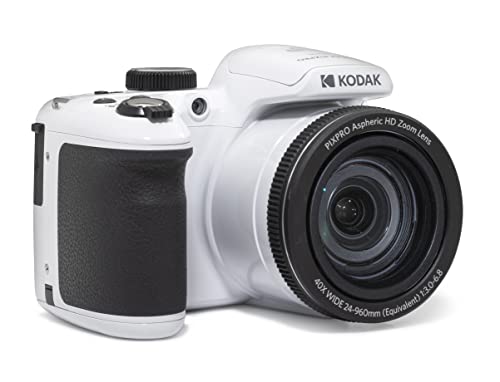
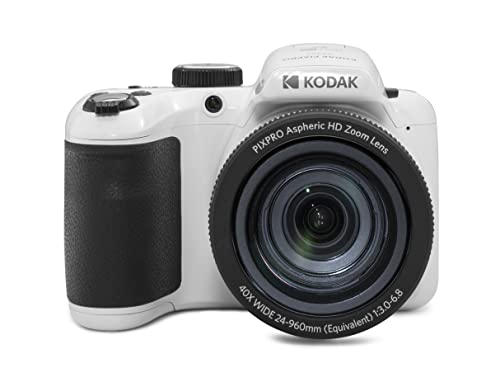
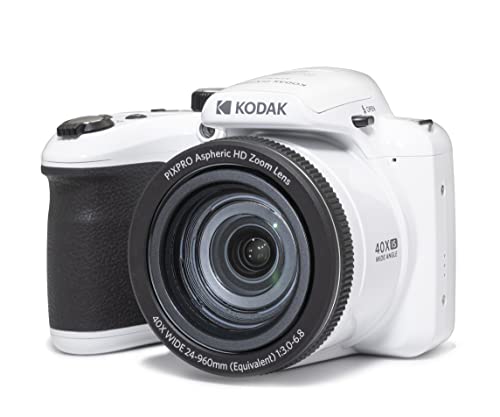
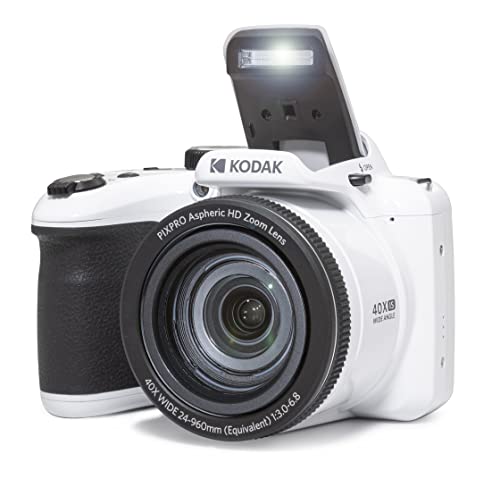
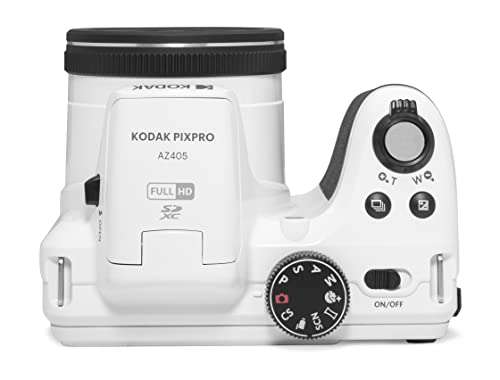
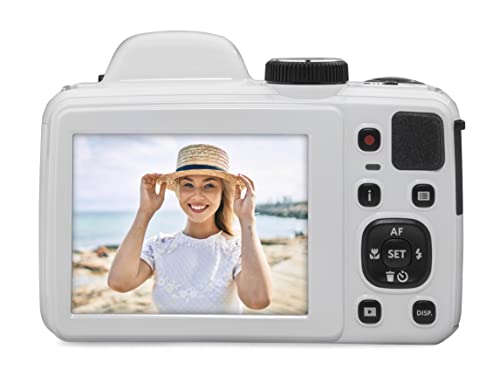
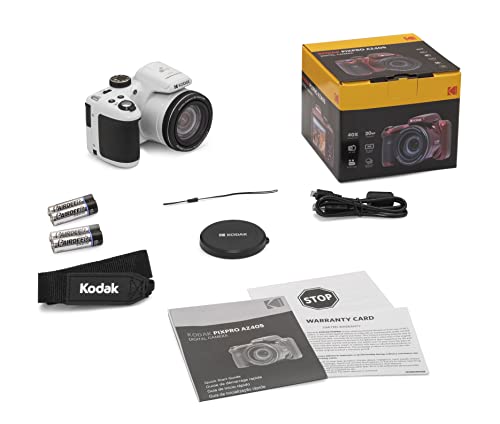
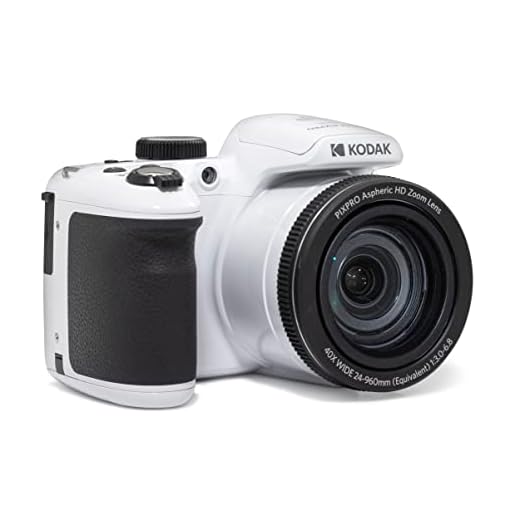
| Part Number | AZ405-WH |
| Model | AZ405-WH |
| Warranty | 1 year manufacturer |
| Color | White |
| Release Date | 2022-11-05T00:00:01Z |
| Language | English |
Features
| Part Number | DC205X |
| Model | DC205X |
| Warranty | 1 Year Warranty |
| Color | Black |
| Size | Compact |
Q&A:
What is the best image size setting for a digital camera?
The best image size setting for a digital camera depends on your specific needs. If you want high-quality, detailed photos, it’s recommended to use the highest resolution setting available on your camera. This will result in larger file sizes but will capture more information in each image. However, if you only plan to share photos online or view them on a screen, you can use a lower resolution setting to save storage space without compromising too much on image quality.
How do I adjust the image size setting on my digital camera?
Adjusting the image size setting on a digital camera varies depending on the make and model of the camera. Usually, you can find this option in the camera’s menu settings under “Image Size” or “Resolution”. From there, you can choose the desired image size setting based on your needs. Make sure to refer to your camera’s user manual for specific instructions on how to adjust the image size setting.

