

As a photography enthusiast, I always strive to capture the most stunning images with my digital camera. One of the key factors in achieving this goal is selecting the right image quality settings. The image quality settings on your camera determine the level of detail and clarity in your photos.
When choosing the best image quality settings for your digital camera, it’s essential to consider factors such as resolution, compression, and file format. Higher resolution settings result in sharper images with more detail, while lower resolution settings may be suitable for web use or smaller prints. Adjusting the compression level can impact the file size and image quality, so finding the right balance is crucial.
Experimenting with different image quality settings and understanding how they affect your photos can help you improve your photography skills and produce exceptional images. By selecting the optimal image quality settings for your digital camera, you can capture breathtaking moments with clarity and precision.
Choosing the right resolution
When it comes to capturing high-quality images with a digital camera, selecting the appropriate resolution is crucial. The resolution of an image refers to the number of pixels it contains, and this directly impacts the clarity and detail of the final photograph. Higher resolution images are ideal for printing large photos or cropping images without losing quality, while lower resolution images are suitable for web sharing or small prints.
Before setting the resolution on your digital camera, consider the intended use of the photos. If you plan to print large posters or canvases, opt for the highest resolution available to ensure sharpness and clarity. On the other hand, if you mainly share photos online or print small snapshots, a lower resolution will suffice and save storage space on your memory card.
- High Resolution: Best for large prints and detailed shots.
- Medium Resolution: Suitable for general photography and moderate printing sizes.
- Low Resolution: Ideal for web sharing and small prints.
Understanding the Significance of Image Resolution
Resolution plays a crucial role in determining the quality of digital images captured by cameras. It refers to the amount of detail that can be captured in an image, measured in pixels. Higher resolution images contain more pixels, resulting in sharper and more detailed photographs.
When selecting the resolution setting on a digital camera, it is essential to consider the intended use of the images. For professional photography or printing purposes, high-resolution images are preferable as they allow for greater flexibility in cropping and editing without compromising quality. On the other hand, for web or social media sharing, lower resolution images may be sufficient to reduce file size and load times.
- Choose the appropriate resolution setting based on the intended use of the images.
- Higher resolution images provide greater detail and flexibility for editing.
- Consider the trade-off between image quality and file size when adjusting resolution settings.
Factors to consider when selecting resolution
When choosing the resolution for your digital camera, there are several key factors to take into account to ensure you capture the best image quality.
1. Purpose: Consider the intended use of the photos you will be taking. If you plan to print large, high-quality images or need detailed shots for professional purposes, opt for a higher resolution to ensure clarity and sharpness.
- 2. Storage: Higher resolution images require more storage space on your memory card or computer. Consider the amount of storage you have available and whether you are willing to invest in additional storage solutions to accommodate larger file sizes.
- 3. Viewing platform: Think about where you will be viewing the photos most frequently. If you mainly share images on social media or view them on digital screens, a lower resolution may suffice. However, if you plan to print and display your photos, a higher resolution will ensure better quality prints.
Adjusting the Compression Level
When it comes to optimizing the image quality on your digital camera, adjusting the compression level is crucial. The compression level determines how much the image data is reduced in size to save storage space. By adjusting the compression level, you can strike a balance between image quality and file size.
Most digital cameras offer a range of compression options, such as fine, normal, and basic. Choosing a higher compression level will result in smaller file sizes but may compromise image quality, especially when it comes to details and sharpness. On the other hand, selecting a lower compression level will produce larger files with higher image quality.
- High Compression: Suitable for images that do not require high levels of detail, such as casual snapshots or web sharing.
- Low Compression: Ideal for capturing images that need to retain intricate details, such as landscapes or portraits.
Effects of Compression on Image Quality
When it comes to capturing images with a digital camera, the level of compression applied to the image can have a significant impact on the overall quality of the final photograph. Compression is the process of reducing the file size of an image by removing certain details and data that are deemed less essential. While compression can help save storage space and make images easier to share online, it can also result in a loss of image quality.
High levels of compression can lead to a noticeable degradation in image quality, as details may become blurred or pixelated. This is especially true for images that contain fine textures, intricate patterns, or subtle gradients. When choosing the compression settings on your digital camera, it’s important to strike a balance between file size and image quality to ensure that your photos look crisp and clear.
- Lossy Compression: Lossy compression algorithms discard some image data to achieve higher compression ratios, resulting in a loss of quality.
- Lossless Compression: Lossless compression algorithms reduce file size without sacrificing image quality by preserving all original data.
- Choosing the Right Compression Level: Experiment with different compression settings on your camera to find the optimal balance between file size and image quality for your specific needs.
Tips for optimizing image quality settings
When selecting the best image quality settings for your digital camera, it’s important to consider the compression level of the images. Here are some tips for finding the optimal compression level:
- Experiment with different compression levels: Take test shots at various compression levels to see the difference in image quality. This will help you determine the level that provides the best balance between image quality and file size.
- Consider the intended use: If you plan to print your photos or display them on a large screen, you may want to choose a lower compression level to preserve image detail. For web use or social media sharing, a higher compression level may be sufficient.
- Check the file size: Keep an eye on the file size of your images at different compression levels. Balancing image quality with file size is key to finding the optimal setting.
- Understand the impact of compression: Higher compression levels can result in loss of image detail and quality, especially in areas with fine textures or gradients. Be mindful of this when choosing a compression level.
Exploring White Balance Settings
When it comes to achieving the best image quality with your digital camera, one important aspect to consider is the white balance settings. White balance is crucial for capturing accurate colours in different lighting conditions. As a photographer, experimenting with white balance settings can greatly enhance the overall look of your images.
There are several white balance presets available on most digital cameras, such as Daylight, Cloudy, Tungsten, Fluorescent, and Auto. Each preset is designed to adjust the colour temperature of the image to match the lighting conditions you are shooting in. It’s important to test out these presets in various lighting situations to determine which one works best for your specific photography needs.
- Daylight: Ideal for shooting outdoors in natural sunlight.
- Cloudy: Use this setting when shooting on overcast days to warm up the image.
- Tungsten: Designed for indoor shooting under tungsten lighting to remove the yellowish tint.
- Fluorescent: Helps eliminate the greenish hue often produced by fluorescent lights.
- Auto: Allows the camera to automatically adjust the white balance based on the lighting conditions.
The Importance of White Balance in Achieving High-Quality Images
When it comes to capturing stunning images with a digital camera, one of the key factors that significantly impacts the overall image quality is white balance. White balance refers to the setting that determines how the camera interprets and adjusts the colours in a scene based on the colour temperature of the light source.
Proper white balance is essential for accurately reproducing the colours in a photograph. If the white balance is off, the colours in the image may appear too warm (yellow or orange tint) or too cool (blue or green tint), resulting in an inaccurate representation of the scene. Adjusting the white balance ensures that the colours in the image are true to life and appear natural.
One way to achieve the best image quality is to set the white balance manually or use a custom white balance setting based on the lighting conditions of the scene. By adjusting the white balance correctly, you can enhance the overall image quality, improve colour accuracy, and create visually appealing photographs that accurately reflect the true colours of the subject.
Adjusting White Balance for Different Lighting Conditions
White balance is a crucial setting on your digital camera that helps ensure accurate color reproduction in your photos. Different lighting conditions can have a significant impact on the color temperature of the light, which can result in photos with a color cast if the white balance is not properly adjusted.
Here are some tips for adjusting white balance for different lighting conditions:
- Auto White Balance (AWB): The AWB setting on your camera automatically adjusts the white balance based on the lighting conditions. While this setting is convenient, it may not always produce the most accurate results, especially in mixed lighting situations.
- Preset White Balance: Most digital cameras come with preset white balance options such as daylight, cloudy, shade, tungsten, fluorescent, and flash. Choose the appropriate preset based on the lighting conditions to ensure accurate color reproduction.
- Custom White Balance: Some cameras allow you to set a custom white balance by taking a reference photo of a neutral gray or white card under the same lighting conditions as your subject. This method provides the most accurate white balance for the specific lighting situation.
By adjusting the white balance settings on your digital camera, you can ensure that your photos have accurate colors and look natural under different lighting conditions. Experiment with different white balance settings to find the one that works best for your specific shooting environment.
Best image quality setting digital camera
Features
| Part Number | AZ252BK_K4 |
| Model | AZ252BK |
| Color | Black |
Features
| Part Number | DC101 |
| Model | DC101 |
| Warranty | 1 |
| Color | Black |
Features
| Model | W08 |
| Color | YL15-W08-C-Black |
| Is Adult Product |
Features
| Part Number | 2727C002 |
| Model | 2727C002 |
| Warranty | 1 year manufacturer |
| Color | Black |
| Release Date | 2019-03-06T00:00:01Z |
| Size | 55mm |
Features
| Part Number | 4K Digital Camera |
| Model | 4K Digital Camera |
| Warranty | 1 Year Warranty |
| Color | Black |
| Is Adult Product | |
| Size | Compact |
Features
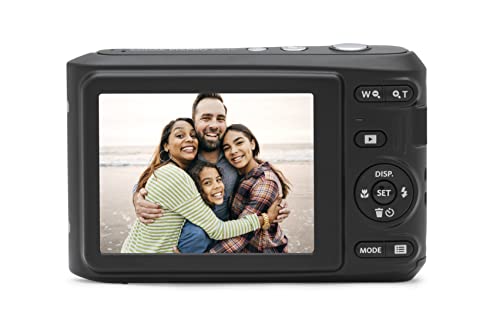
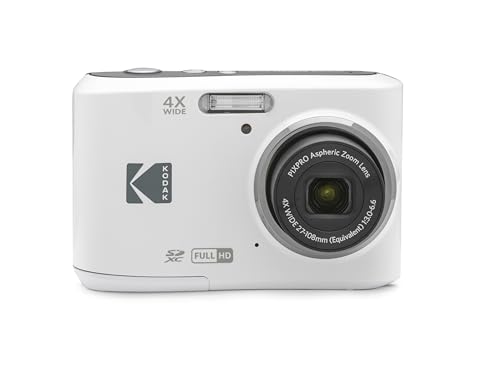
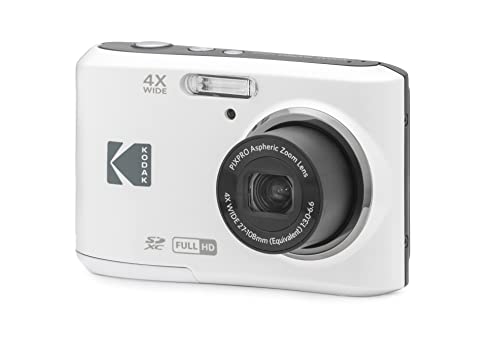
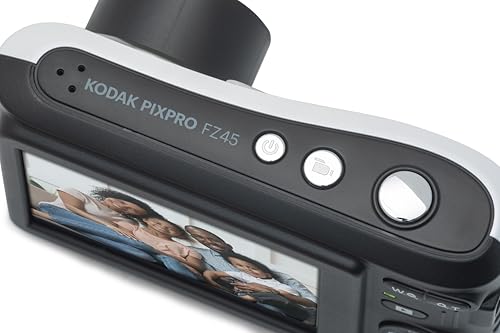
| Part Number | FZ45WH |
| Model | FZ45WH |
| Warranty | Limited 1-Year Warranty |
| Color | White |
| Release Date | 2022-10-03T00:00:01Z |
| Price history for Kodak PIXPRO Friendly Zoom FZ45 Camera | |
|---|---|
|
Latest updates:
|
|
Q&A:
What is the best image quality setting for a digital camera?
The best image quality setting for a digital camera typically depends on the camera model and the intended use of the photos. However, shooting in RAW format generally provides the highest quality images with the most flexibility for editing.
Should I use JPEG or RAW image format for the best quality?
RAW image format is usually recommended for the best quality as it captures all the data from the camera’s sensor without compression. JPEG format, on the other hand, is more convenient for sharing and storage but may result in some loss of quality.
What impact does the image quality setting have on file size?
The image quality setting can have a significant impact on the file size of your photos. Higher quality settings, such as RAW or high-resolution JPEG, will result in larger file sizes, which may require more storage space.
How can I adjust the image quality setting on my digital camera?
You can usually adjust the image quality setting on your digital camera by accessing the camera’s menu and selecting the image quality option. From there, you can choose the desired quality setting based on your preferences.
What is the difference between image quality and image resolution?
Image quality refers to the level of detail, clarity, and overall appearance of an image, while image resolution refers to the number of pixels in the image. Higher image resolution generally results in higher image quality, but they are not the same thing.


